1.1 School Registration
To begin using Rekax V2, a school must first contact Mavrosera via contact@mavrosera.com. Once the school’s account has been registered, an email notification will be sent to the institution. The school must follow the instructions outlined in the For Schools section to complete the onboarding process.
2.1 Account Registration & Setup
Notice: Schools whose account were created may feel free to skip this section
Registration Success Email:
- Upon successful registration, the school receives an email confirming the creation of their account.
- The email contains a link to confirm their email address.
Email Confirmation:
- After confirming their email, the school receives a second email with instructions to reset their password.
Login:
- Once the password is reset, the school can log in using their newly created credentials.
You may view this demo video to view the full process of creating accounts.
2.2 Levels
This is an interface where schools can create or update levels. Those levels will be assigned to teachers and students. Teachers will be able to prepare for exams and add students with respect to the levels they are assigned to. Also, students who are in the same level will have access to the same exams.
While creating levels, schools must mention:
- Level name e.g: S1, Year 1
- Small description of the level e.g: Senior 1 students
2.3 Home Dashboard
The Home section serves as the central hub where the school can monitor exams and their current submission status.
Schools can:
- View a list of created exams.
- Track the number of submissions per exam.
- Check whether an exam is still ongoing or has ended.
By clicking on a specific exam, the school can access a detailed table displaying:
- Exam Name
- Student Names
- Student Emails
- Student Phone Numbers
- Submission Status (Submitted, Not Submitted, or Graded)
2.4 Set Exam
The Set Exam section allows schools or contest organizers to create and configure new exams. To set up an exam, the following details must be provided:
- Exam Name
- Start Date & End Date of the exam
- Exam PDF (The document containing the exam questions)
- Select method of submitting / answering the exam (either OMR for MCQ or Hand)
- MCQ Solutions for OMR exams, and Marking Scheme for Hand Corrected Exams
For OMR exams each question consists of five answer choices.
For Hand-written exams, for each point on the marking scheme you specify the similarity threshold and context parameter. The context tells the quantity of text above and below a potential correct answer to the model when it is assessing whether a point mentioned by the student matches one on the marking scheme. The similarity parameter determines to what extent those points are similar.
When the exam format is Topic, the marking scheme point should specify the question the students will be discussing (e.g: Disadvantages of soil erosion). In this case, the similarity threshold determines to what extent those points have to be distinct. Lower similarity threshold means students have to be very creative, while higher similarity means students don't need to be very creative.
Feel free to leave context and similarity with default values in case you are not sure.
You may view this demo video to check how to set and submit MCQ exams and this one for hand-written exams.
Start Date & End Date (The exam automatically closes at 12 AM on the specified end date)
Exam PDF (The document containing the exam questions)
Solution Key (Correct answers to be used in the grading process)
Submission Status (Submitted, Not Submitted, or Graded)
The free version of Rekax V2 supports multiple-choice exams consisting of 20 questions, each with five answer choices.
2.5 Submission Tracking
The Submission section enables the school admin to track exam sheets submitted by specific teachers.
2.6 Corrected Papers
Once exams have been graded, the Corrected Papers section allows the school to review how student responses were evaluated.
To access corrected papers:
- Click on the relevant exam card.
- Select a teacher from the displayed list of teachers.
- View the teacher’s students’ corrected papers, including:
- Student Solutions
- Scores
- Graded Answer Sheets
- AI-Generated Feedback
Institution's Admin also has the ability to edit AI-generated feedback.
2.7 Complaints Management
The Complaints section allows schools to handle student disputes regarding grading.
Clicking on an exam name displays a list of students and the status complaints associated with each.
When reviewing a corrected paper, the school can take one of the following actions, given they has permission to do so:
- Adjust marks (Add or remove points as necessary)
- Reject the complaint if the grading was correct
Any adjustments made will be reflected in both the student's score and the complaint history, ensuring transparency in the resolution process.
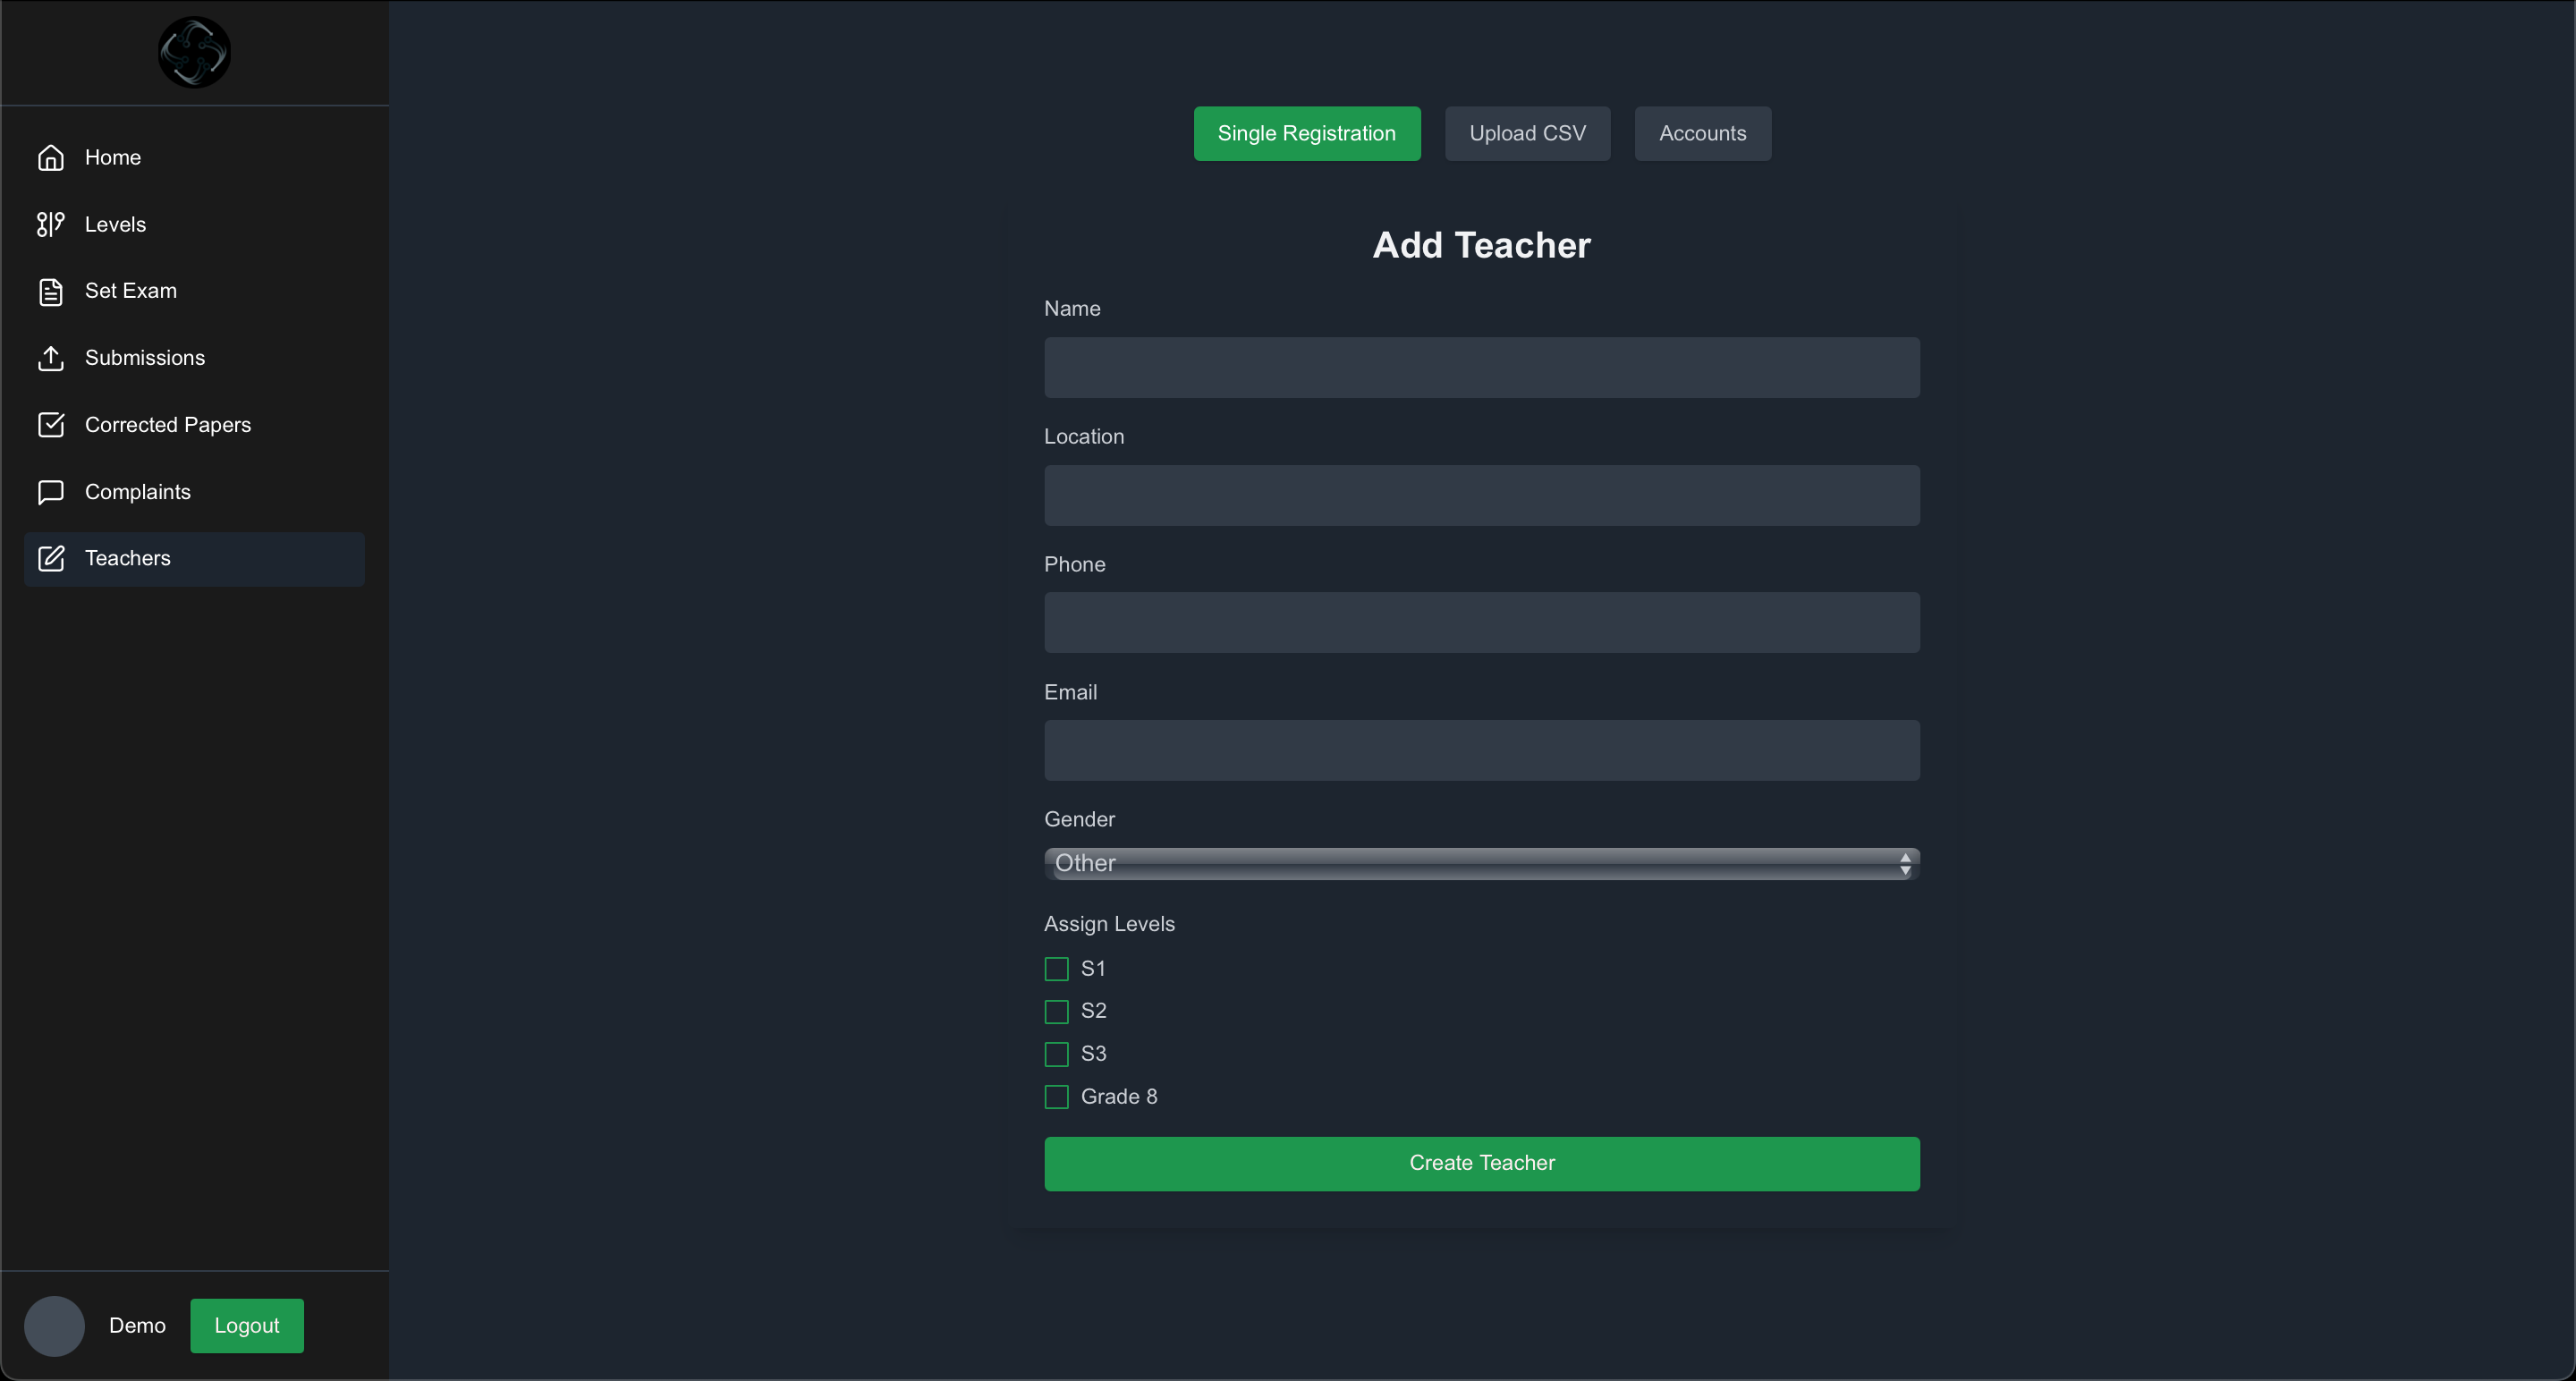
2.8 Teachers Management
The Teachers section allows schools to manage their teaching staff. Here you can view all registered teachers, their assigned levels, and their current status.
The Teachers section provides a comprehensive overview of your teaching staff. Here you can:
- View all registered teachers
- Monitor teacher activity status
- Manage level assignments
- Track teacher performance
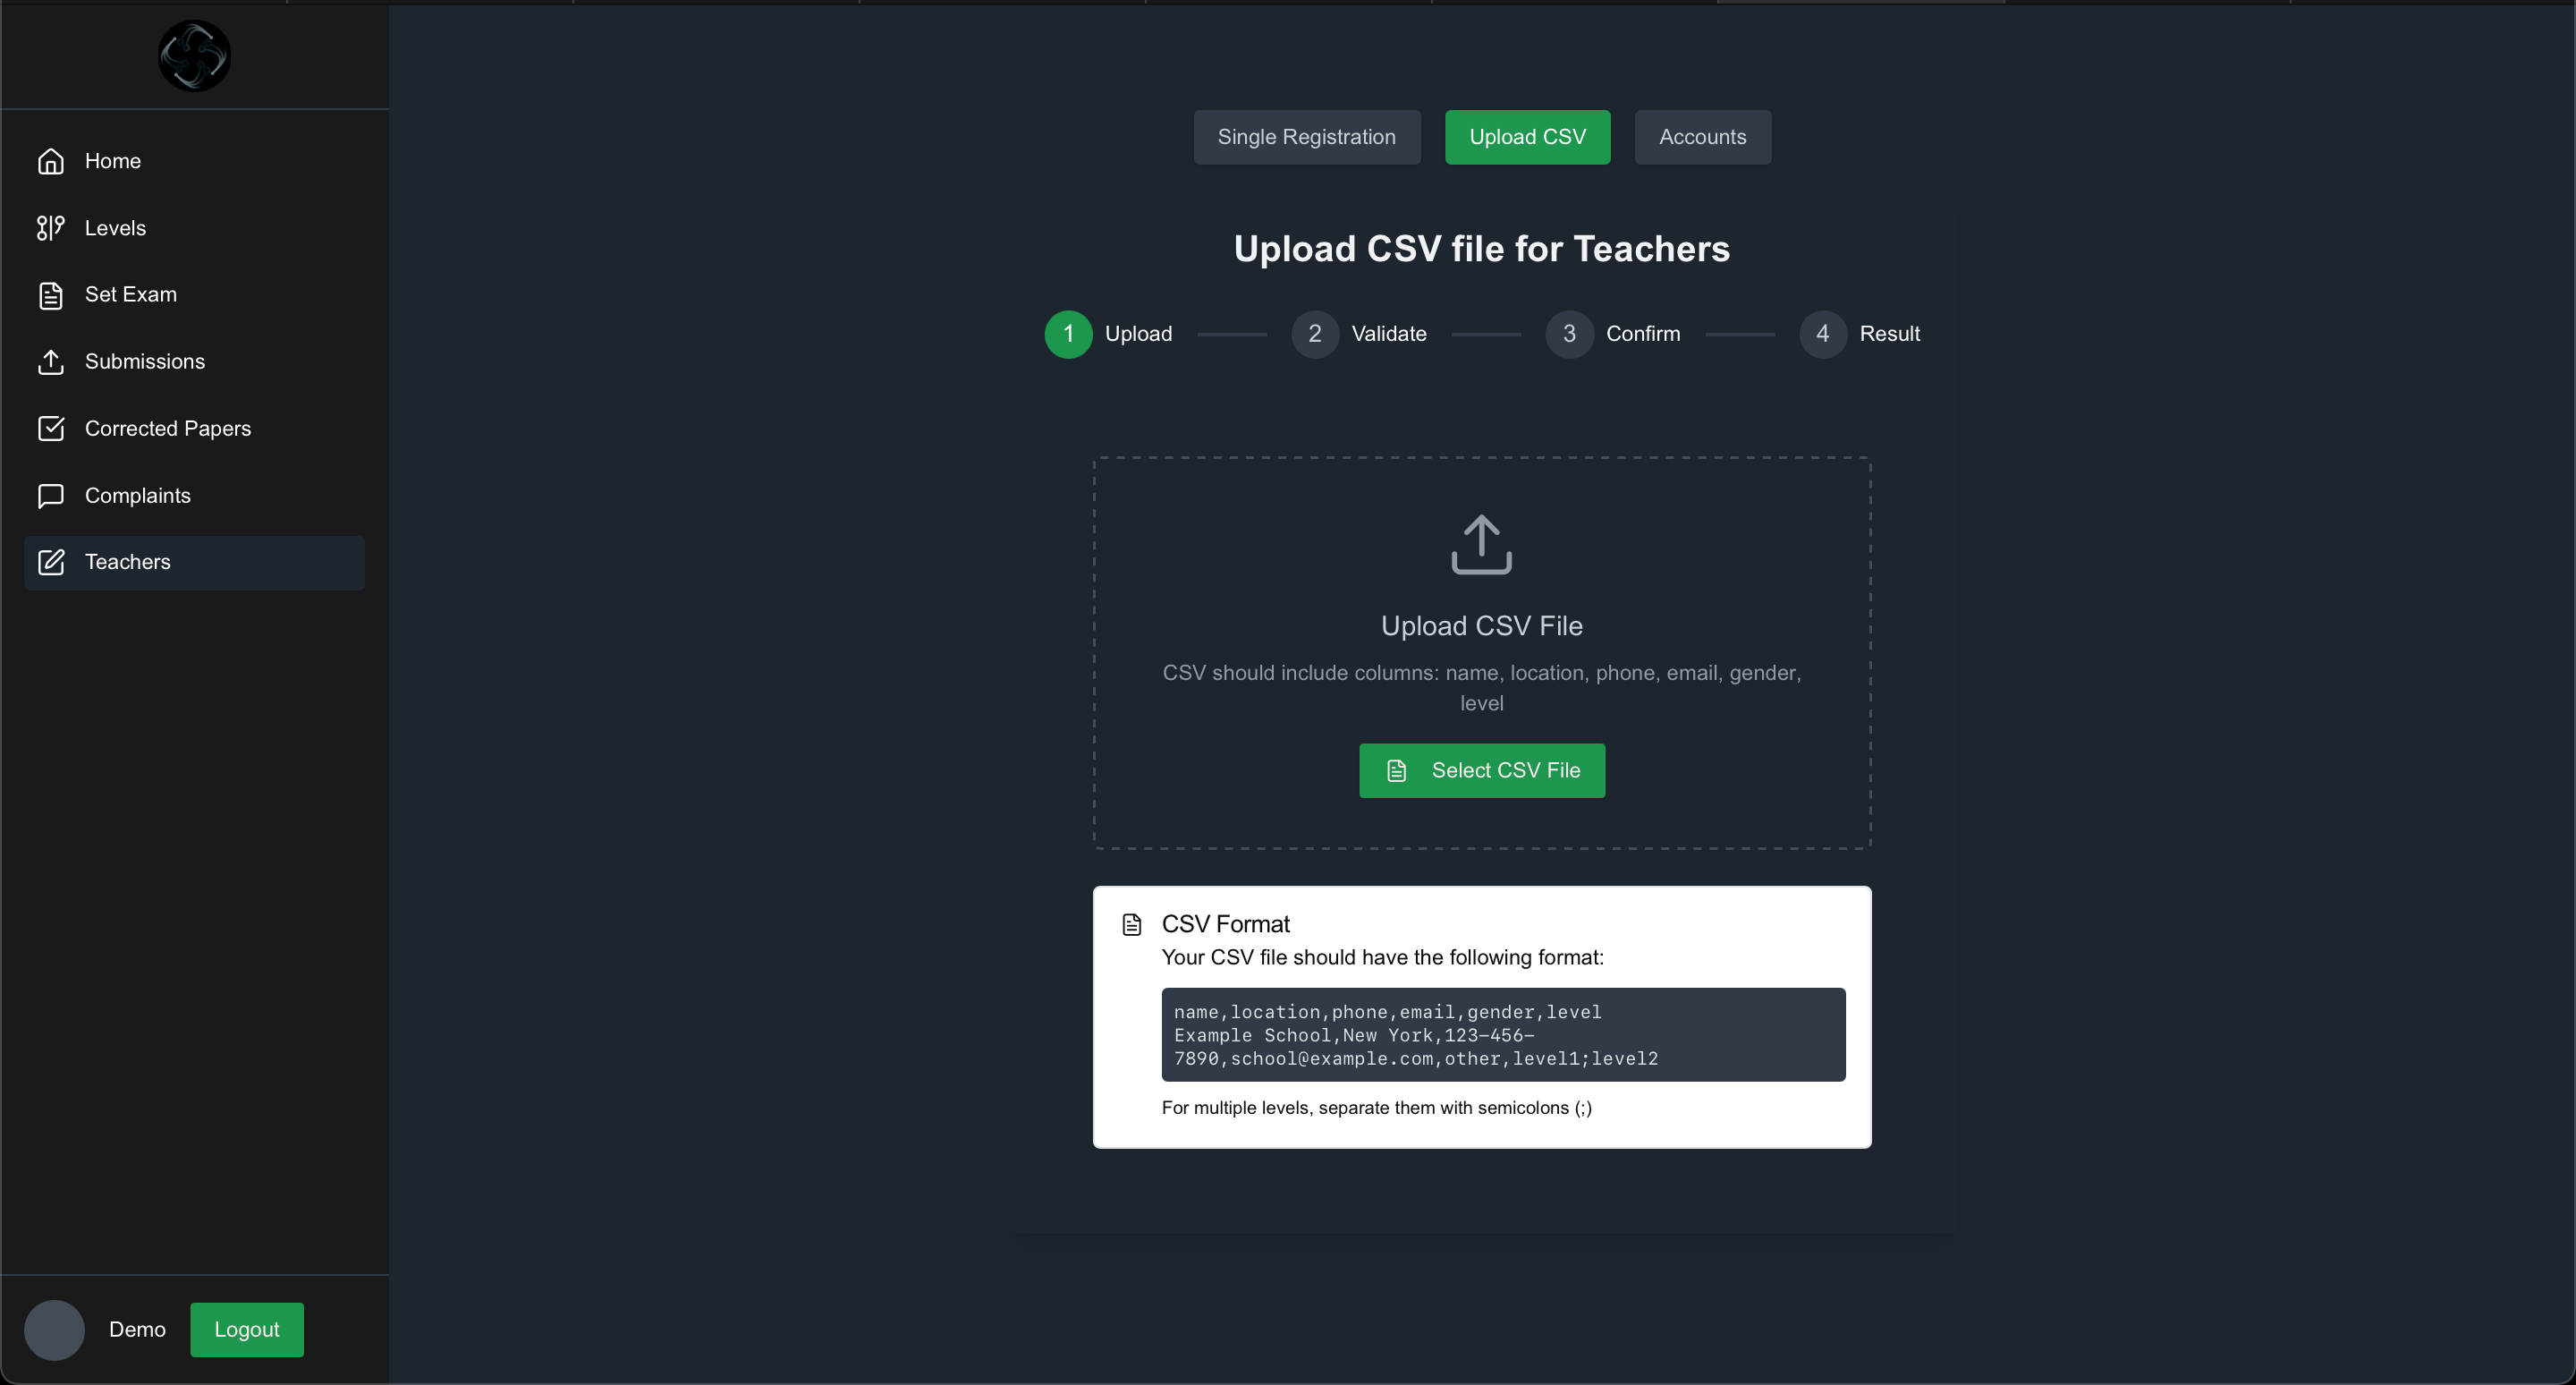
CSV File Format:
The CSV file should have the following format:
name,location,phone,email,gender,level
Example:
Example School,New York,123-456-7890,school@example.com,other,level1;level2
Note: For multiple levels, separate them with semicolons (;)
Once a teacher is added (through either method), they will receive an email prompting them to log in and complete their account setup.
Single Registration Interface
Bulk Upload Interface
3.1 Teacher Registration and Account Setup
Notice
Teachers whose account were created may feel free to skip this section
Registration Success Email:
- Upon successful registration, the teacher receives an email confirming the creation of their account.
- The email contains a link to confirm their email address.
Email Confirmation:
- After confirming their email, the teacher receives a second email with instructions to reset their password.
Login:
3.2 Teacher's Portal Overview
The teacher's portal provides various functionalities to help them set and update exams, submit student solutions, and review graded papers. Below is an overview of the key sections:
2.1 Home Dashboard
The Home section allows teachers to track exams and student submissions.
Teachers can:
- View a list of exams they are involved in.
- Monitor the number of student papers submitted for each exam.
- Check whether an exam is still ongoing or has ended.
By clicking on editing icon of an exam, teachers can access a detailed editing page:
- They will be able to edit all features related to the created exam, if the exam belongs to them.
Important
Note that it's not possible to edit an exam once there is at least 1 submission. This is to ensure that all students are graded fairly.
2.2 Set Exam
The Set Exam section allows schools or contest organizers to create and configure new exams. To set up an exam, the following details must be provided:
- Exam Name
- Start Date & End Date of the exam
- Exam PDF (The document containing the exam questions)
- Select method of submitting / answering the exam (either OMR for MCQ or Hand).
- MCQ Solutions for OMR exams, and Marking Scheme for Hand Corrected Exams
For OMR exams each question consists of five answer choices.
For Hand-written exams, for each point on the marking scheme you specify the similarity threshold and context parameter. The context tells the quantity of text above and below a potential correct answer to the model when it is assessing whether a point mentioned by the student matches one on the marking scheme. The similarity parameter determines to what extent those points are similar.
When the exam format is Topic, the marking scheme point should specify the question the students will be discussing (e.g: Disadvantages of soil erosion). In this case, the similarity threshold determines to what extent those points have to be distinct. Lower similarity threshold means students have to be very creative, while higher similarity means students don't need to be very creative.
Tip
Feel free to leave context and similarity with default values in case you are not sure.
Video Tutorials
You may view this demo video to check how to set and submit MCQ exams and this one for hand-written exams.
3.4 Submit Exam
The Submit Exam section allows teachers to upload student solutions for a specific exam. Teachers must:
- Select the Exam Name
- Choose the Student Name from the drop down
- Upload the pdf of the Student's Solution
Note
For OMR exams, after clicking the Submit Exam button, the system will scan the student's solutions. If the teacher notices any errors, they can make corrections before confirming. Once satisfied, they must click the Confirm Answers button to finalize the submission. A notification will confirm whether the student's paper has been submitted successfully.
3.5 Submission Tracking
The Submission section enables teachers to track submitted papers for a specific exam.
3.6 Corrected Papers
Once the grading process is complete, the Corrected Papers section allows teachers to review how student responses were evaluated.
To access corrected papers:
- Click on the relevant exam card.
- View the students' corrected papers, including:
- Student Solutions
- Scores
- Graded Answer Sheets
- AI-Generated Feedback
The teacher can also edit AI-generated feedback for handwritten exams and adjust the student's score.
3.7 Complaints Management
The Complaints section allows teachers to handle student disputes regarding grading.
Clicking on an exam name displays a list of students and the status complaints associated with each.
When reviewing a corrected paper, the teacher can take one of the following actions, given they has permission to do so:
- Adjust marks (Add or remove points as necessary)
- Reject the complaint if the grading was correct
Any adjustments made will be reflected in both the student's score and the complaint history, ensuring transparency in the resolution process.
3.8 Students Management
The Students section allows teachers to add students who will participate in exams.
Once a student is added, they will receive an email prompting them to log in and complete their account setup.
4.1 Account Registration & Setup
- Registration Success Email:
- Upon successful registration, the student receives an email confirming the creation of their account.
- The email contains a link to confirm their email address.
- Email Confirmation:
- After confirming their email, the student receives a second email with instructions to reset their password.
- Login:
- Once the password is reset, the student can log in using their newly created credentials.
4.2 Student's Portal Overview
The student’s portal provides various functionalities to help students track their exams, view graded papers, and submit complaints if necessary. Below is an overview of the key sections:
4.3 Home Dashboard
The Home section allows students to track their exams and submissions:
Students can:
- View a list of exams assigned to them.
- Check whether an exam is still ongoing or has ended.
- Monitor their submission status for each exam.
By clicking on a specific exam, students can access a detailed table displaying:
- Exam Name
- Teacher's Names
- Teacher's Email
- Teacher’s Phone Number
- Submission Status (Submitted, Not Submitted, or Graded)
4.5 Submission Tracking
The Submission section enables students to keep track of their submitted papers for each exam.
4.6 Corrected Papers
Once the grading process is complete, the Corrected Papers section allows students to review how their responses were evaluated.
To access corrected papers:
- Click on the relevant exam card.
- View details of their graded exam, including:
- Student Solutions
- Scores
- Graded Answer Sheets
- AI-Generated Feedback
Students can review the AI-generated feedback and use it to understand their mistakes and improve future performance.
4.7 Complaints Management
The Complaints section allows students to file disputes regarding grading if they believe an error was made.
- Clicking on an exam name displays a list of teachers along with the number of students who have submitted complaints.
- When reviewing their corrected paper, students can submit a complaint if they find discrepancies in grading.
Once a complaint is submitted, the teacher or school admin will review it. If necessary, adjustments will be made, and the student will be notified of any changes in their score. The updated score and resolution details will be reflected in the complaint history.
5.1 Desktop Web
Currently, the application is hosted as a web-based platform, allowing users to access all features seamlessly from their computers. The interface is designed to be intuitive, making navigation and interaction straightforward.
User Interface Layout
Navigation Bar
- Located on the left side of the screen.
- Contains links to different sections of the application.
- Occupies approximately ¼ of the screen for optimal usability.
Main Content Area
- The remaining ¾ of the screen displays the main content.
- Clicking a navigation link dynamically updates the content area accordingly.
The images below shows user interface in the Desktop Browser.
5.2 Mobile Web
The mobile web application includes all the features available on the desktop version, with additional functionality optimized for mobile users.
Exclusive Mobile Features
Users can capture photos of their answers directly within the application without needing to store them separately. This feature saves both time and storage space.
User Interface Layout
Navigation Bar
- The navigation bar is hidden by default to maximize screen space.
- It can be accessed by tapping the menu icon at the top-left corner of the screen.
- When opened, the navigation menu slides in from the left and occupies approximately ½ of the screen.
Main Content Area
- Once the menu is closed (by tapping the “X” button), the entire screen becomes the main content area.
- Content updates dynamically based on the selected navigation link.
The images below shows user interface in the Mobile Browser.
6.1 Problem-Specific Feedback
Administrators can determine the level of detail provided in the feedback regarding each question. They can choose:
-
Solution-Oriented Feedback: Provides complete explanations and answers to help students understand the correct solutions.
-
Hint-Based Feedback: Offers strategic hints to guide students toward discovering the correct answer on their own.
6.2 Identifying Points of Failure
Institutions can decide whether the AI feedback should emphasize areas where students struggled, helping them recognize patterns in their mistakes. This approach ensures students can:
-
Identify common errors and misunderstandings.
-
Avoid making similar mistakes in future assessments.
6.3 Mentor Recommendations
Schools and contest organizers have the option to integrate mentor-based guidance into the AI feedback system.
-
Based on the types of questions a student struggles with, the system can suggest mentors or tutors who can provide additional support.
-
Institutions can provide mentor details so the AI can make personalized recommendations based on accurate data.
7.1 MCQ Answer Sheet
For Multiple Choice Questions, download the answer sheet below designed to work with Rekax. This sheet should be printed or saved and distributed to students for answering the questions.
Download Answer Sheet
8.1 Submit Exam API
Endpoint
POST https://rop.mavrosera.com/submit-exam
Required Headers
| Header Name |
Type |
Required |
Description |
x-api-key |
string |
Yes |
API key for authentication |
x-tenant-id |
string |
Yes |
Tenant identifier |
Request Parameters
Form Data Parameters (multipart/form-data)
| Name |
Type |
Required |
Description |
images |
List<File> |
Yes |
One or more answer sheet images (JPG, JPEG, PNG) |
examId |
int |
Yes |
ID of the exam being submitted |
studentId |
int |
Yes |
Student ID |
Returned Result (Success)
JSON Response
{
  "answers": [],
  "sid": 0,
  "msg": "Submitted paper successfully!",
  "warning": null
}
Response Fields
| Field |
Type |
Description |
answers |
array |
Extracted answers from uploaded answer sheets |
sid |
int |
Submission ID |
msg |
string |
Submission result message |
warning |
string | null |
Warning message if answers could not be clearly detected |
Error Response
Returns an HTTP error with a message:
{
  "detail": "Error description"
}